Scan Profiles
Scan profiles allow scan tasks and settings to be grouped together - each scan profile can be started, scheduled and monitored as a single unit. It is possible for example to create a scan profile that is scheduled to scan Windows servers and import infrastructure separately from Windows workstations which may require scanning on a less frequent basis.
Creating a Scan Profile
To create a scan profile right click the Scan Profiles node and select New Profile. Enter a suitable name for the newly created scan profile such as "Scan Local Computer", each scan profile name must be unique.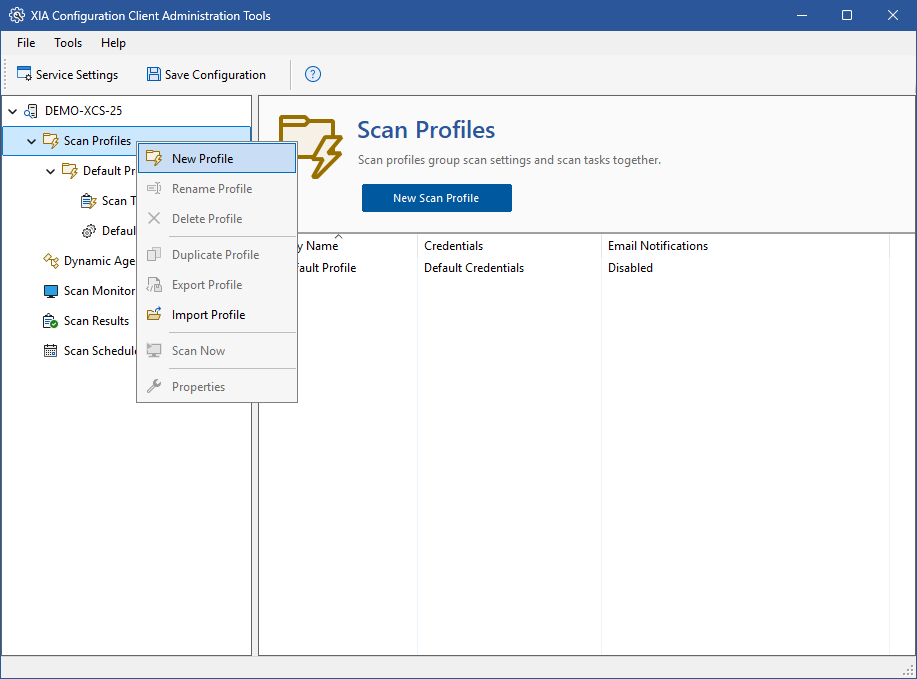
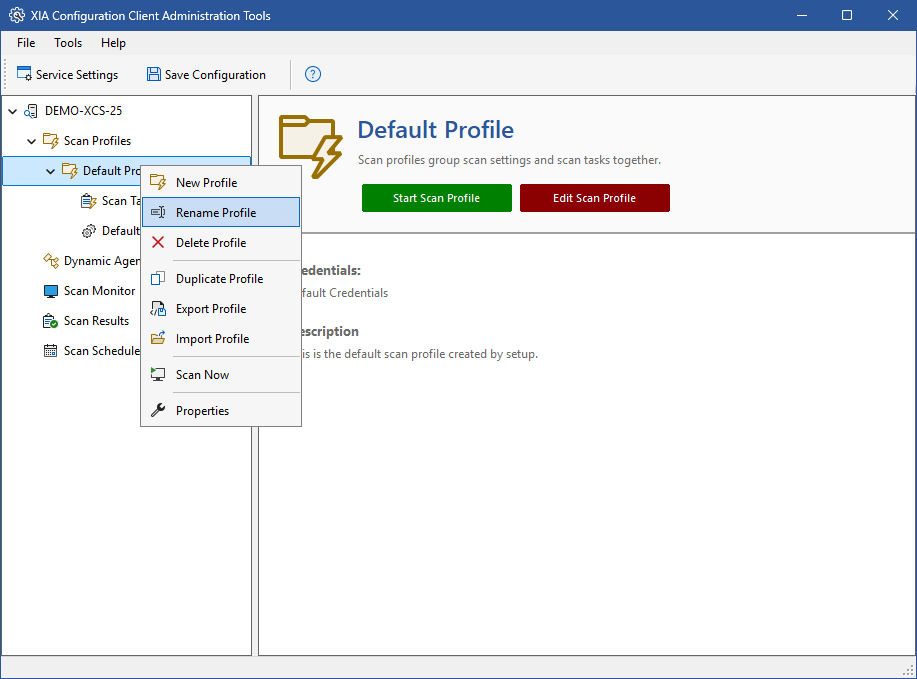
Renaming a Scan Profile
Right click the scan profile you wish to rename and click Rename Profile.
Deleting a Scan Profile
Right click the scan profile you wish to delete and click Delete Profile.
Exporting a Scan Profile
Scan profiles can be exported and then imported into another XIA Configuration Client. To export a scan profile right click the scan profile you wish to export and select Export Profile.
Enter or browse for the location to save the file. Scan Profiles are exported as XML Files.
Importing a Scan Profile
Should you wish to import a scan profile that you have previously exported, right click the scan profiles node and select Import Profile.
Enter or browse for the location of the scan profile file that was previously exported.
Duplicating a Scan Profile
To create a duplicate of an existing scan profile right click the profile and select Duplicate Profile.
Enter a suitable name for the newly duplicated scan profile.
Starting a Scan
To start a scan right click the scan profile you wish to start and click Scan Now. The XIA Configuration Service can run only one scan profile at a time but the scan profile can run many scan tasks simultaneously.
Editing a Scan Profile
To modify the properties of a scan profile, right click the scan profile and select Properties.
For more information see the scan profile settings section.