Manual Uninstallation Instructions
WARNING:
You should always remove XIA Configuration Server using the uninstallation instructions unless there is a problem preventing this process from completing.
Using Registry Editor incorrectly can cause serious problems that may require you to reinstall your operating system.
These instructions are provided as guidance only and are completed at your own risk. If you have any questions or concerns, do not proceed, instead, log a support call at the following address https://www.centrel-solutions.com/support/logsupportcall.aspx.
Manual Uninstallation Steps
- Ensure you have a full backup of your system.
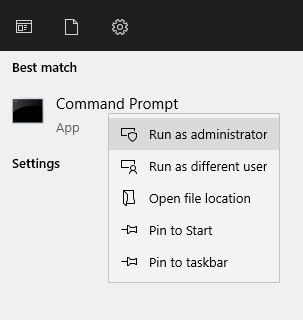
- Logon as an administrator.
- Start a command prompt as administrator:
- Remove the scheduler service with the following command (replacing the path with your installation path):
"C:\Program Files\CENTREL Solutions\XIA Configuration\XIA Configuration Scheduler\CENTREL.XIA.Configuration.Server.Scheduler.exe" -uninstall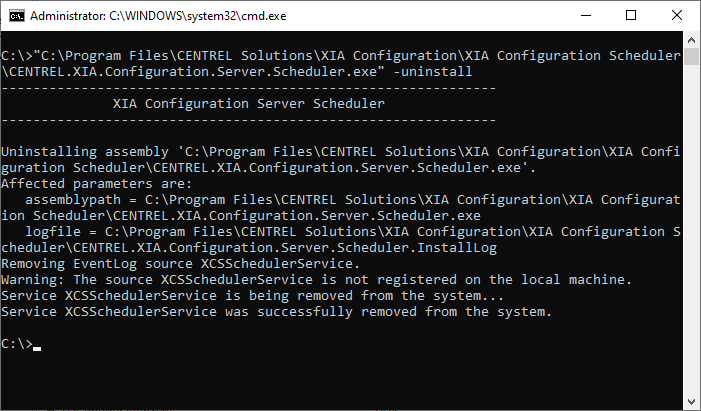
- Ensure that the command states that the service has been successfully removed from the system.
- Remove the client service with the following command (replacing the path with your installation path):
"C:\Program Files\CENTREL Solutions\XIA Configuration\XIA Configuration Service\CENTREL.XIA.Configuration.Service.exe" -uninstall
- Ensure that the command states that the service has been successfully removed from the system.
- Remove the installation directory (replacing the path with your installation path):
C:\Program Files\CENTREL Solutions\XIA Configuration - Remove the registry key:
HKEY_LOCAL_MACHINE\SOFTWARE\CENTREL Solutions - Remove the registry key:
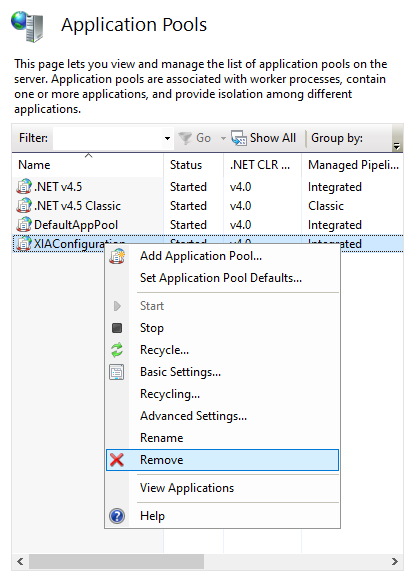
HKEY_LOCAL_MACHINE\SOFTWARE\Microsoft\Windows\CurrentVersion\Uninstall\{4943FAD2-E2E0-4071-9830-3B8C0E456C03} - Start IIS manager and go to the Application Pools section.
- Right click the XIAConfiguration or XIAConfiguration - NS application pool and select Remove:
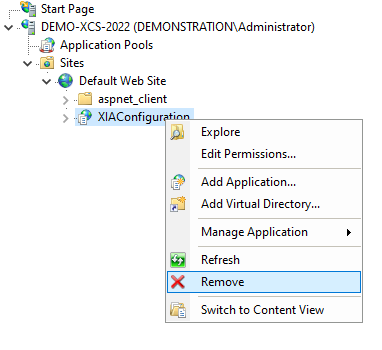
- Expand the Default Web Site.
- Right click the XIAConfiguration virtual directory (or other virtual directory that you selected during the installation) and select Remove:
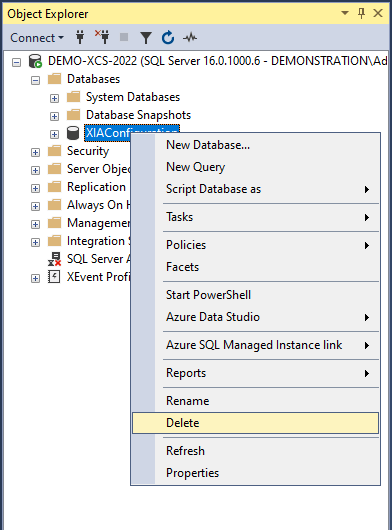
- Open SQL Management Studio on the machine running the SQL database.
- Expand the Databases node.
- Right click the XIAConfiguration database (or the database you named during the installation) and select delete:
- Certain shared roles and features and prerequisites are automatically installed by the product, you may need to review these and remove them manually if they are no longer required.
- Reboot the system when ready.