Custom Attributes
The following walkthrough demonstrates how to create a dynamic agent plugin to read a registry entry from a Windows machine and store the information in a custom attribute.
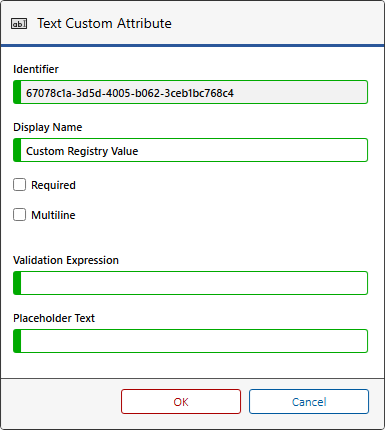
- Ensure that a custom attribute has been created and assigned to the appropriate item types. Make a note of the identifier as this will be required later - for example "67078c1a-3d5d-4005-b062-3ceb1bc768c4".
- Within the administration tools go to the dynamic agent plugins section
- Right click the list and select new dynamic agent plugin.

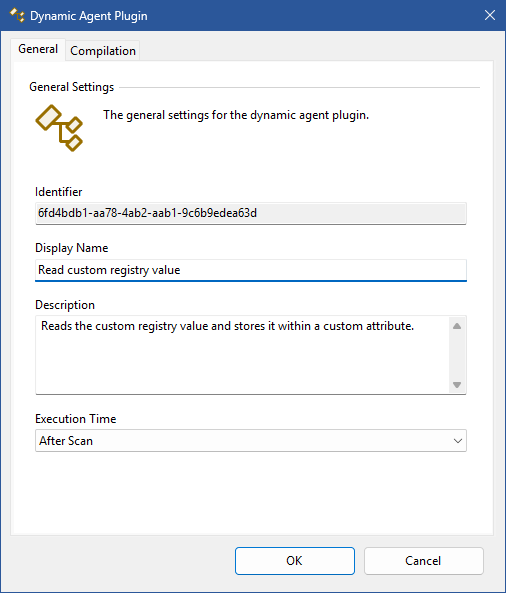
- Enter the name and description of the dynamic agent plugin.
- As the dynamic agent plugin will be modifying the data created by the agent, ensure that the execution time is set to after agent scan.
- On the Compilation tab, click the launch dynamic code editor button.
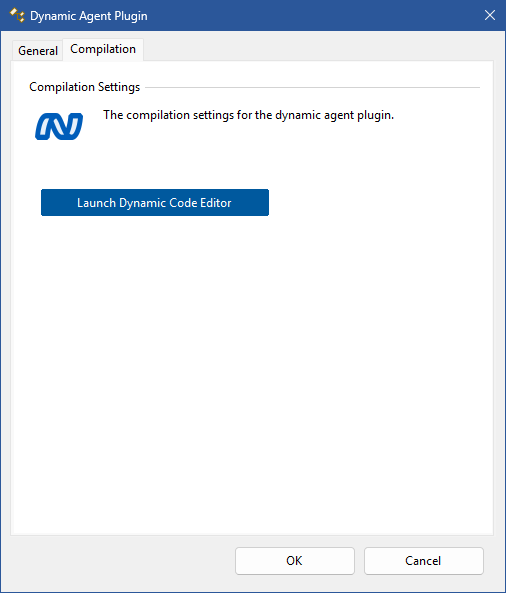
- This will display the dynamic code editor.
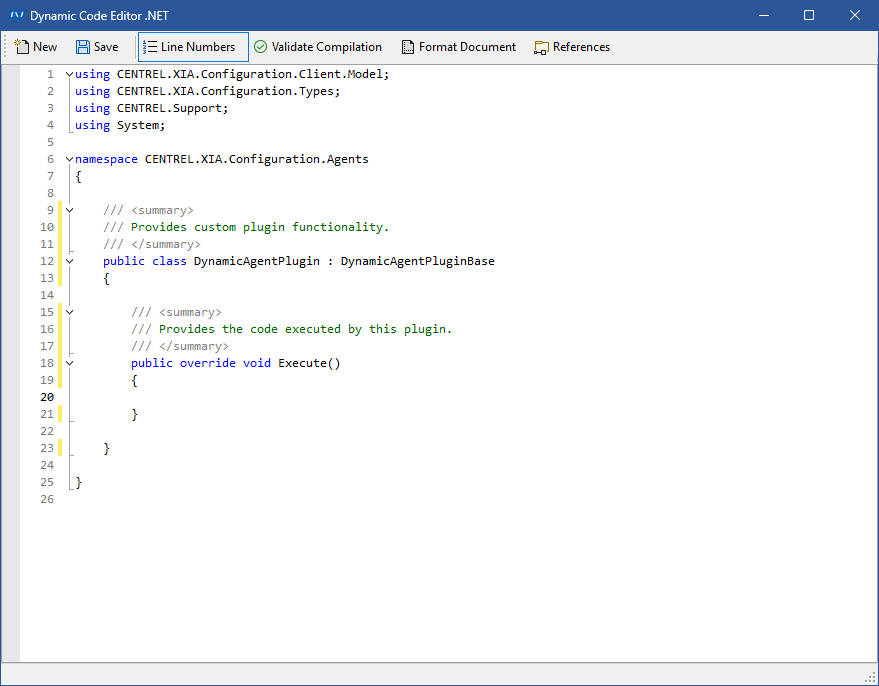
- Enter the following code in the Execute() method.
/// <summary>
/// Provides the code executed by this plugin.
/// </summary>
public override void Execute()
{
if (!PowerShell.IsConnected)
{
// Handle PowerShell not being connected.
}
String customValue = PowerShell.Registry.GetStringValue(@"SOFTWARE\CENTREL Solutions\XIA Configuration Service", "InstallDirectory");
Item.CustomAttributes.Items.Add(new Guid("67078c1a-3d5d-4005-b062-3ceb1bc768c4"), String.Empty, customValue);
}
- The Registry property of the PowerShell support classes allows for direct access to the registry of the remote machine. In the example the "InstallDirectory" registry value of type REG_SZ is read.
- As the plugin is running after agent scan, the Item property provides access to the data generated by the agent, which can be modified. The custom attribute is added to the collection. The unique identifier of the custom attribute is the value that was noted at the start of this walkthrough.
Item.CustomAttributes.Items.Add(new Guid("67078c1a-3d5d-4005-b062-3ceb1bc768c4"), String.Empty, customValue); - Click the validate compilation button to ensure the code compiles correctly, and then click the save button.
- Close the dynamic code editor and click the OK button.
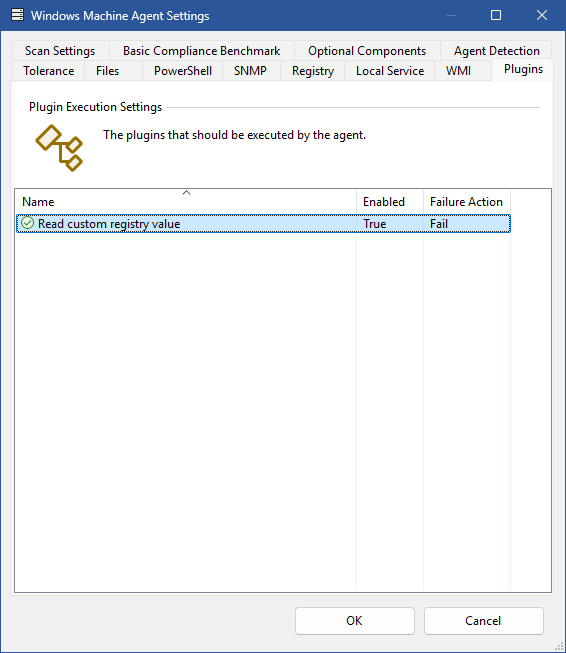
- Go to the scan profile that you are editing and go to the default agent settings and then the Windows machine agent settings.
- On the plugins tab right click the newly created dynamic agent plugin and select enable.