Database Migration
The following steps describe how to move the XIA Configuration Server database to a different physical or virtual machine.
- On the existing database server, start SQL Server Management Studio.
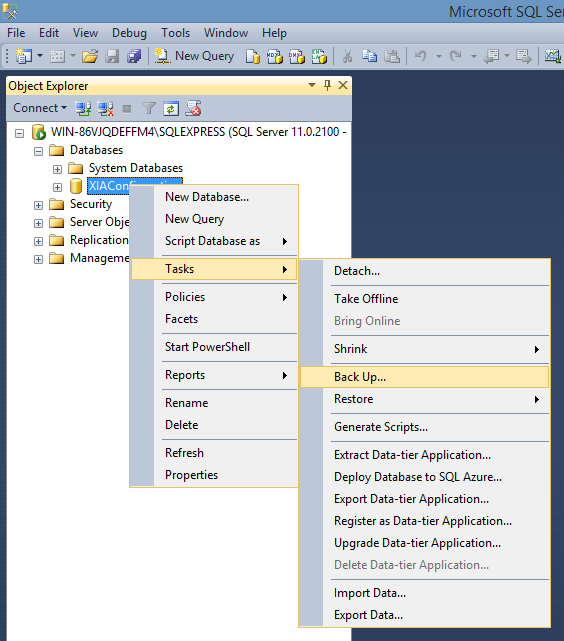
- Right click the XIA Configuration Server database and select Tasks > Back Up:
- Ensure you are performing a Full backup and select an appropriate backup destination:
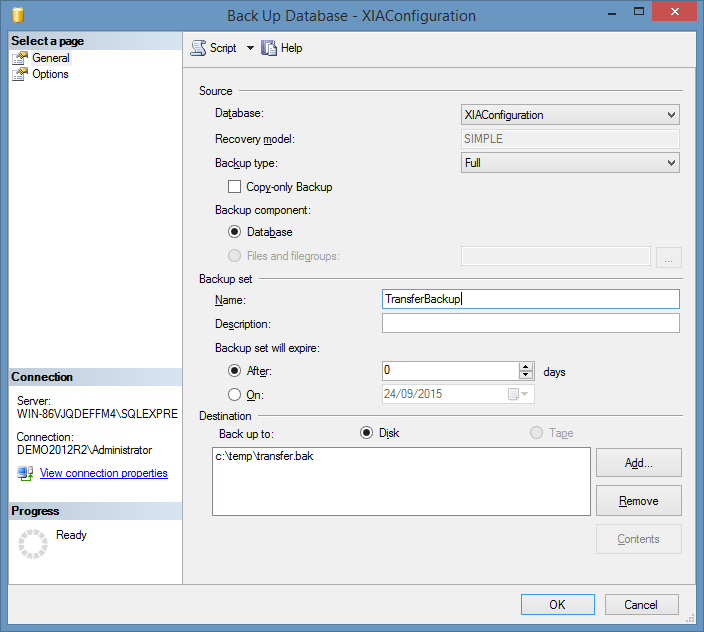
- Click OK to start the backup.
- Copy the backup file to the new database server.
- On the new database server, start SQL Server Management Studio.
- Right click databases and click Restore.
- Select the backup file that you are restoring:
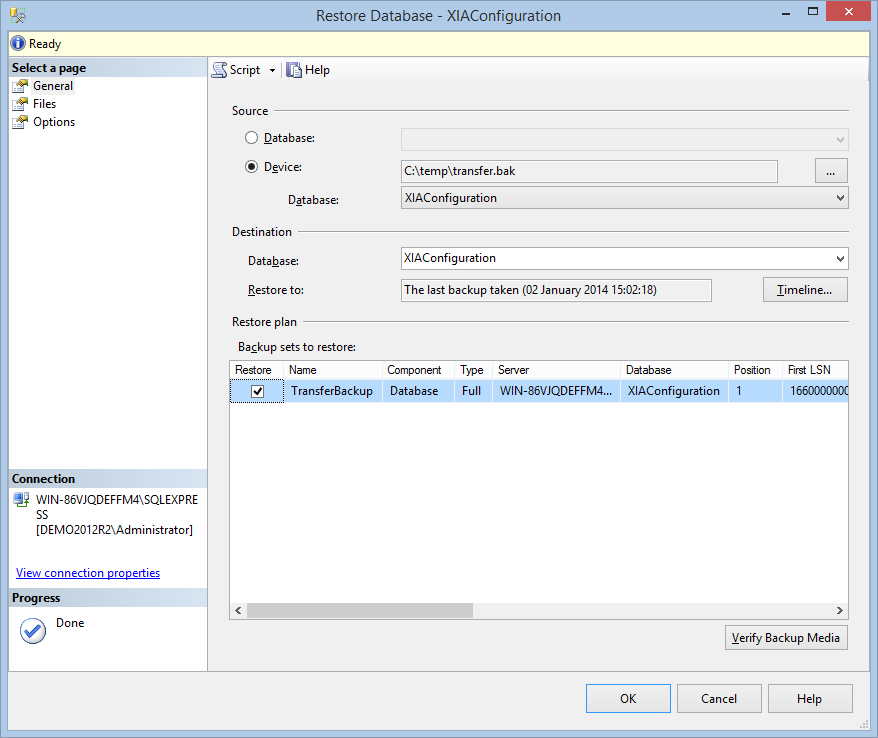
- On the Files tab, ensure that the database files are going to be restored to the correct location.
- Click OK to begin the restore.
- Expand the restored database > Security > Logins and ensure that the service account (by default the Network Service account) is listed correctly.
NOTE: If you used the Network Service account during the installation, by default, the account name should be "NT AUTHORITY\Network Service" for English versions of Windows. For other language versions, you may have to use the localized variant of this built-in account.
NOTE: If you used the Network Service account during the installation and the database server is on a different machine to the computer running the XIA Configuration Server product, you should use the computer account of the computer running the XIA Configuration Server product in the format DOMAIN\ComputerName$ - for example "CORP\DEMO-SRV01$".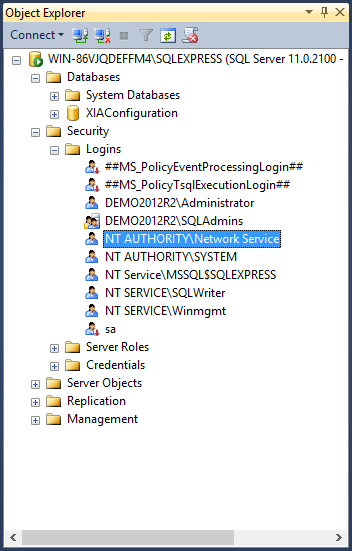
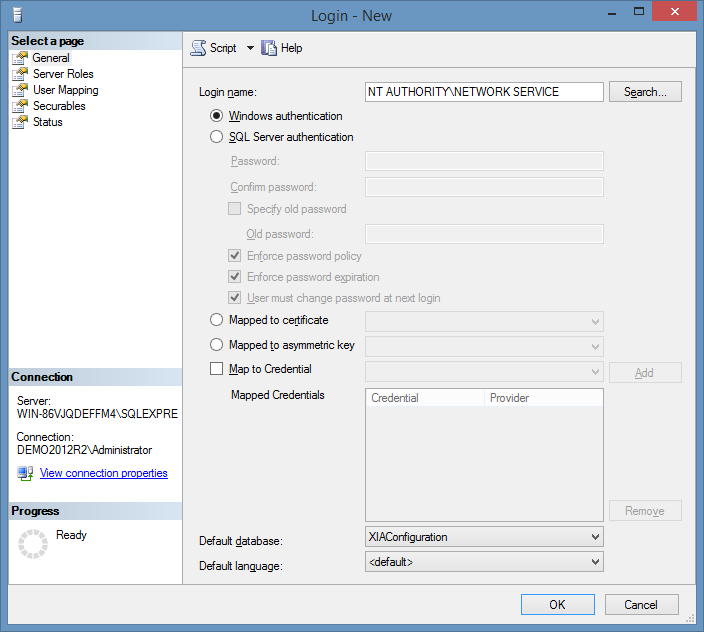
- If the user doesn't exist right click Logins > New Login.
- Enter the login name as determined above and select the default database:
- On the User Mapping tab, select the XIA Configuration database and ensure that db_owner is ticked:
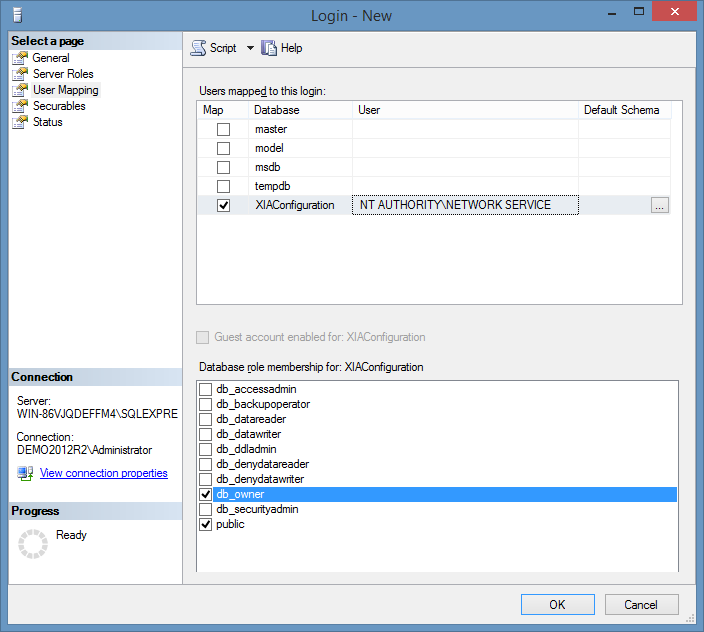
- Click OK to create the login.
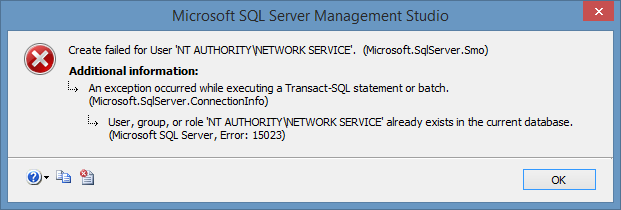
- If you are informed that the login already exists within the database, browse to "Databases > Database Name > Security > Users" and remove the user and repeat the steps above to create the login.
- Open the XIA Configuration Server web interface.
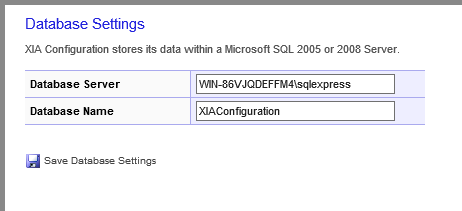
NOTE: There may be a delay as the system attempts to locate the previous SQL server instance if this is no longer available on the network. - On the Database Settings tab, enter the new database server instance name and ensure the database name is correct.
- Click Save Database Settings.
- To ensure that upgrades are performed correctly, open regedit.exe and modify the following registry key values to match the values in the web interface:
HKEY_LOCAL_MACHINE\SOFTWARE\CENTREL Solutions\XIA Configuration Server\Setup
DatabaseInstance [REG_SZ]
DatabaseName [REG_SZ] - It should now be possible to access the XIA Configuration Server web interface.